> ## Documentation Index
> Fetch the complete documentation index at: https://docs.codenullapp.com/llms.txt
> Use this file to discover all available pages before exploring further.
# Authorization
> All the authorization system works based on Role Access and each user must have one role assigned.
All the authorization system works based on Role Access and each user must have one role assigned.
There are two ways to give access to a role
* Authorization By Feature
* Authorization By Role
### Authorization By Feature
1. Open the page you want to give access to.
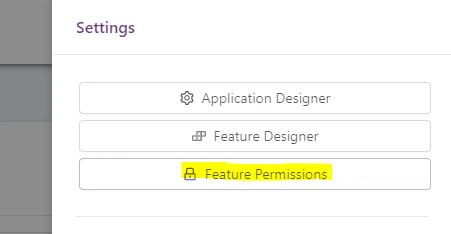
2. Open the right menu and click on ***Feature permissions**.*
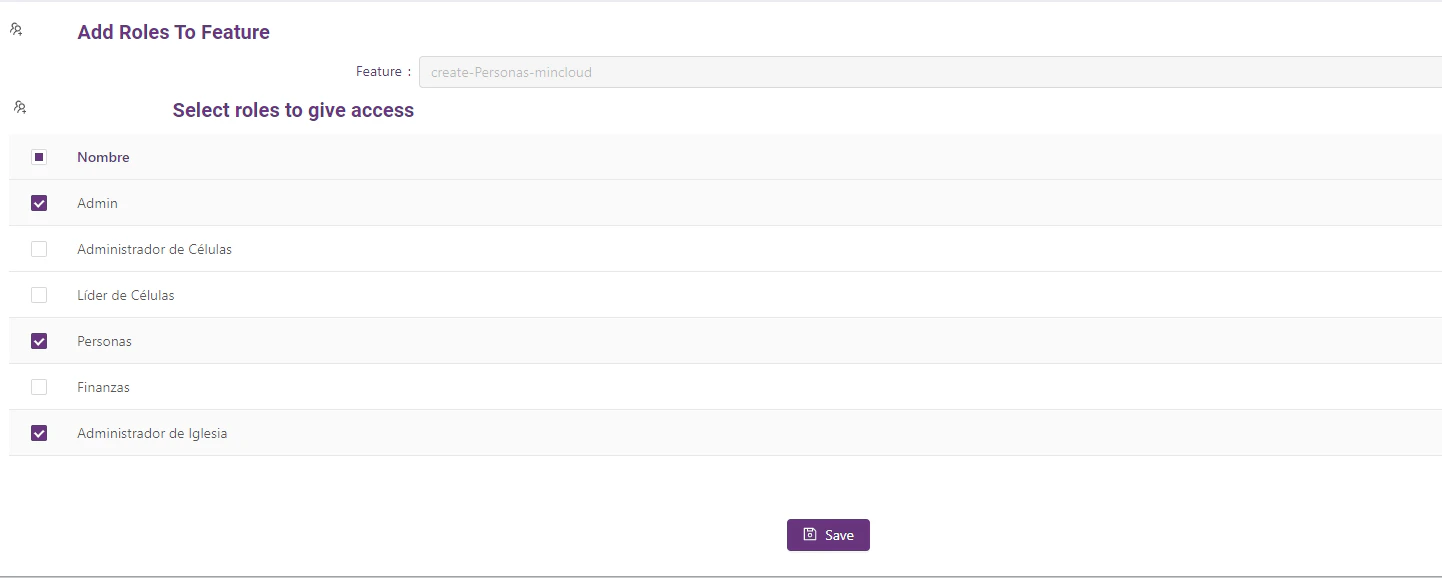
3. You will see the current feature and the roles available in the application
4. On this page, you need to select the roles you want to give access to the feature and then click on the Save button.
 ### Authorization By Role
#### Features Level
1. In the application open the right menu and click on Application designer.
2. Scroll down until the Roles table and click on the role you want to give access to the features.
3. You will see all the features available for the application and then you choose the feature you will give access to the selected Role, then click on the Save button.
### Authorization By Role
#### Features Level
1. In the application open the right menu and click on Application designer.
2. Scroll down until the Roles table and click on the role you want to give access to the features.
3. You will see all the features available for the application and then you choose the feature you will give access to the selected Role, then click on the Save button.
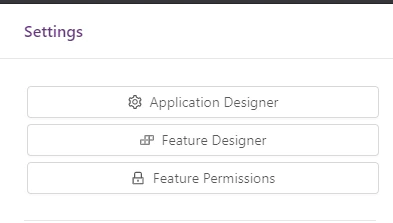
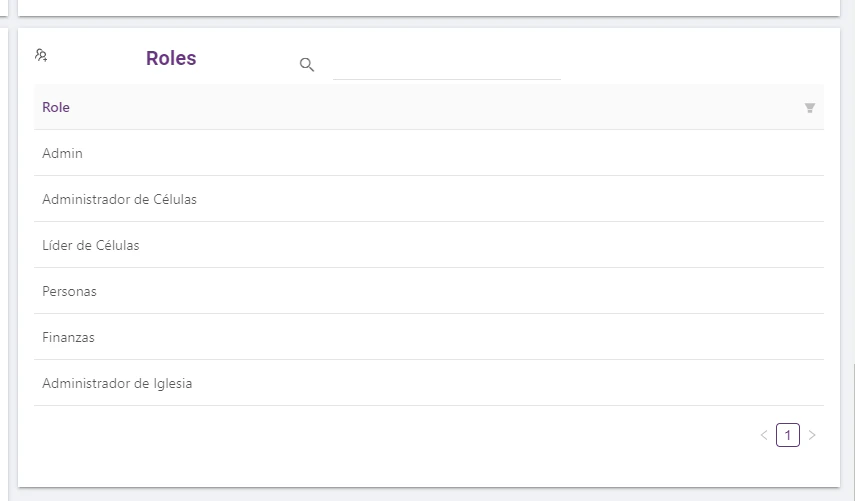
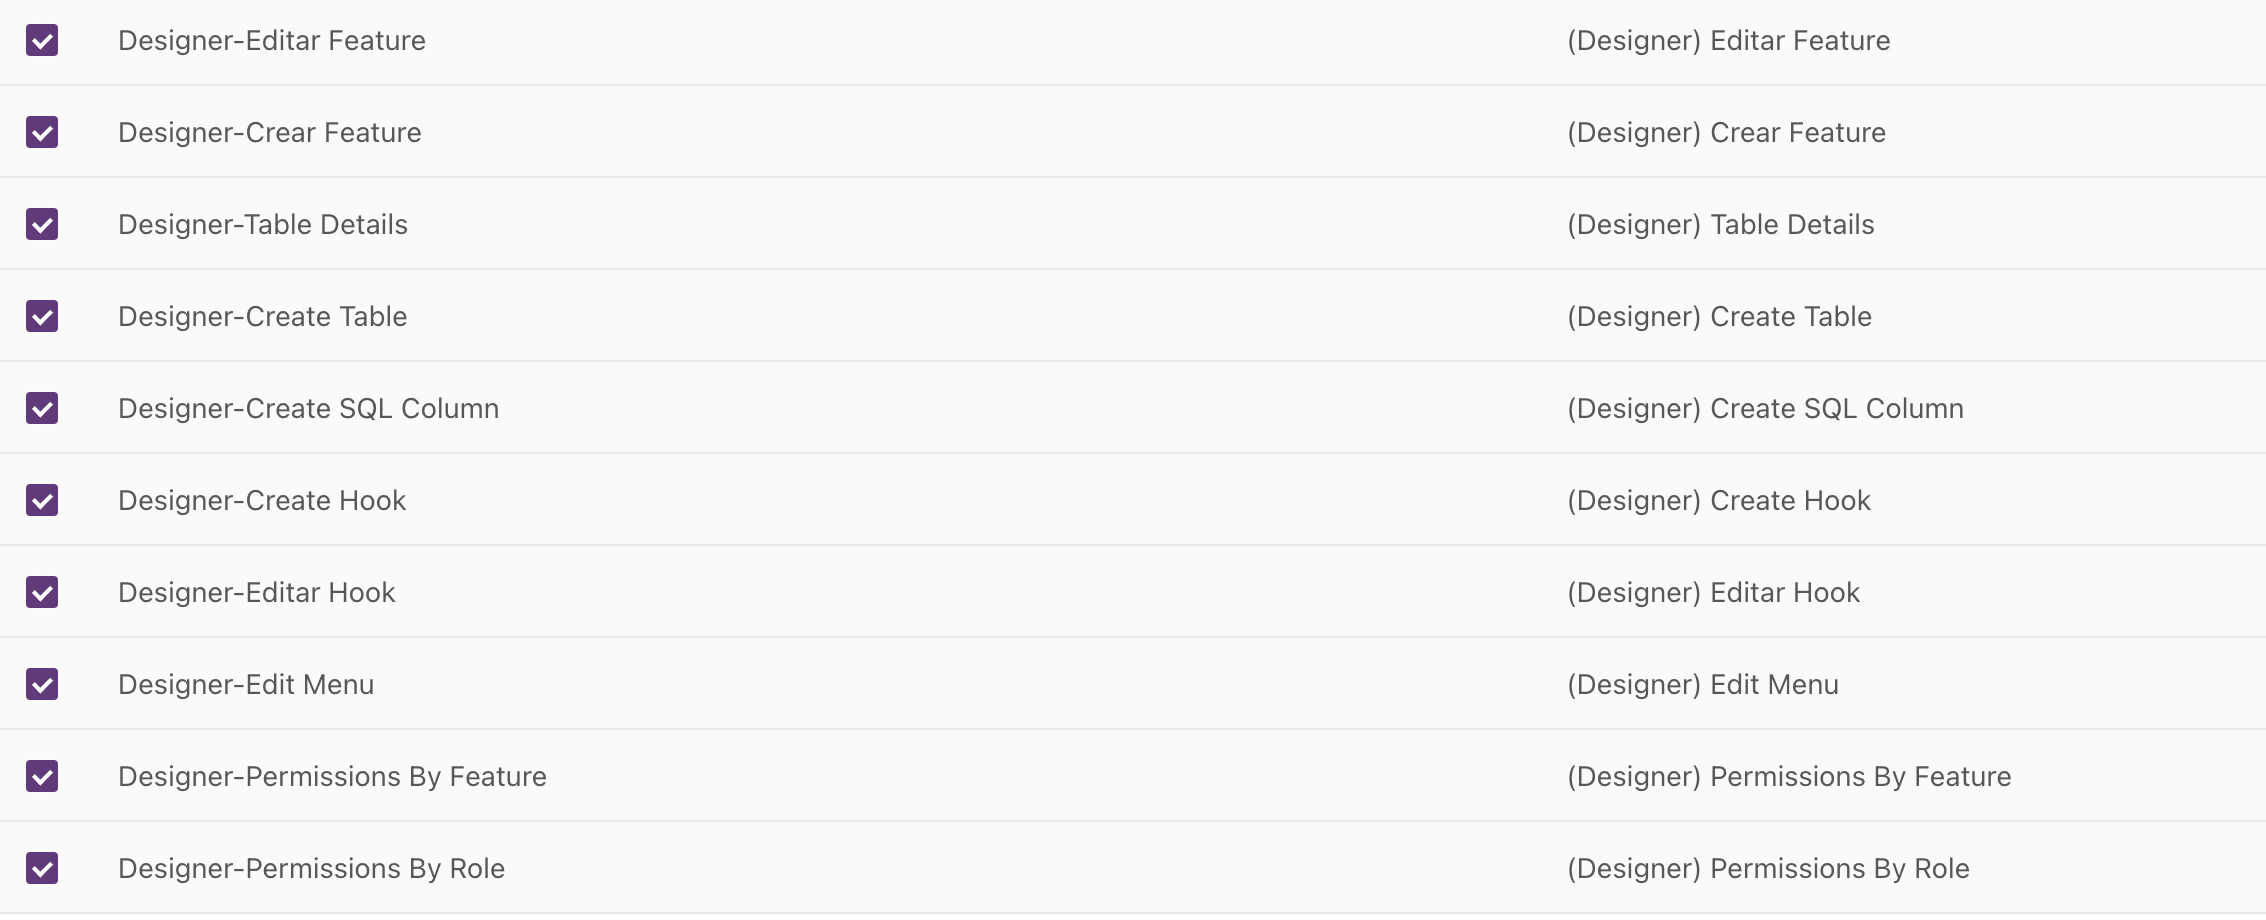
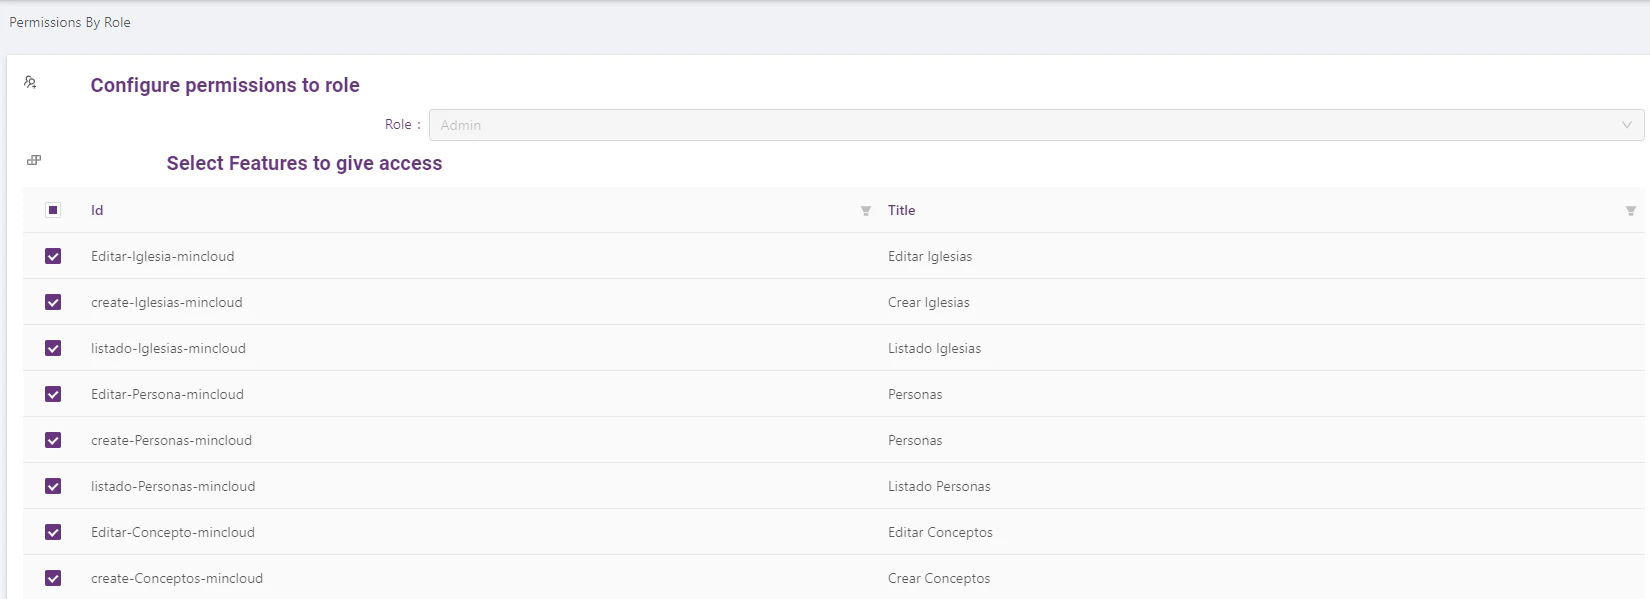 Here you can also provide Designer access, be careful to only give access to the right users or roles. To identify a Designer feature, they will have a ***Designer*** prefix.
 After you generate a CRUD for an entity, you must give permissions to have access to the new created features.
#### Components Level
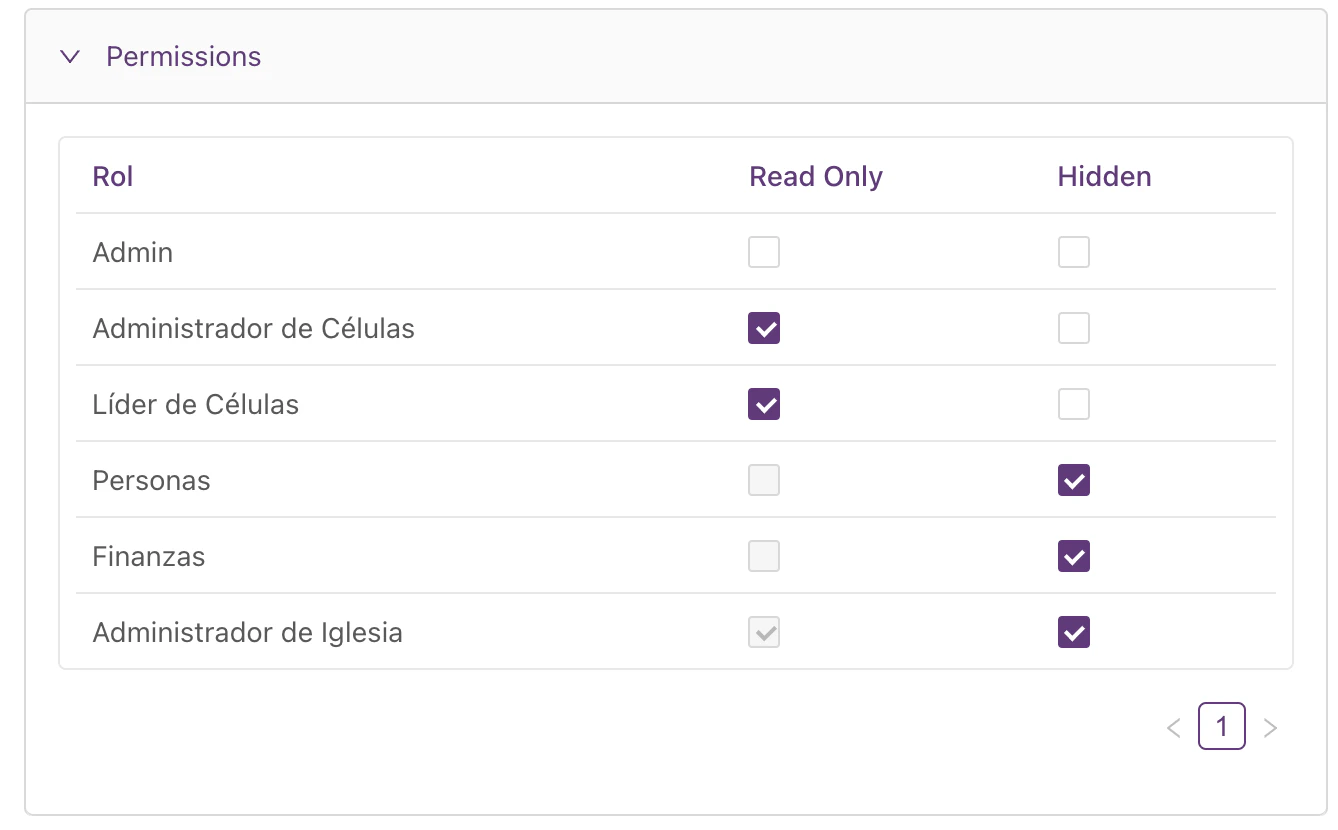
You can restrict access even at a component level for each component. You can restrict the access to avoid modifications or even to hide any component for any role.
For custom features (React code), controls are wrapped with the `Authorization` component and configured per role directly from the feature's edit view. See [Component Permissions](/configurations/authorization/component-permissions) for the full configuration reference.
After you generate a CRUD for an entity, you must give permissions to have access to the new created features.
#### Components Level
You can restrict access even at a component level for each component. You can restrict the access to avoid modifications or even to hide any component for any role.
For custom features (React code), controls are wrapped with the `Authorization` component and configured per role directly from the feature's edit view. See [Component Permissions](/configurations/authorization/component-permissions) for the full configuration reference.