- Authorization By Feature
- Authorization By Role
Role Codigo
Every role in the Roles table has a Codigo field, generated automatically from its name the moment the role is created (for example, “Director Técnico” becomes DIRECTOR_TECNICO). Unlike the role’s name, Codigo never changes — not even if you rename the role afterwards — and it cannot be edited manually.
Codigo exists so that server-side hooks and integrations can reference a role safely without hardcoding its Id: a role’s Id is stable across clones and environments of the same application, but it isn’t readable or auditable in a hook’s code, and its name can be renamed for UX reasons at any time. Codigo gives you a readable identifier with the same stability as Id. If you are writing a hook that checks a user’s role, prefer resolving it by Codigo rather than by name — see Hooks: Roles.
Roles created before this feature was introduced get their
Codigo filled in automatically the next time the application starts.Authorization By Feature
- Open the page you want to give access to.
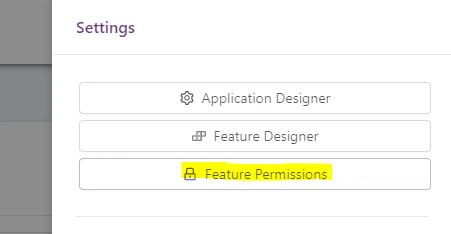
- Open the right menu and click on Feature permissions.
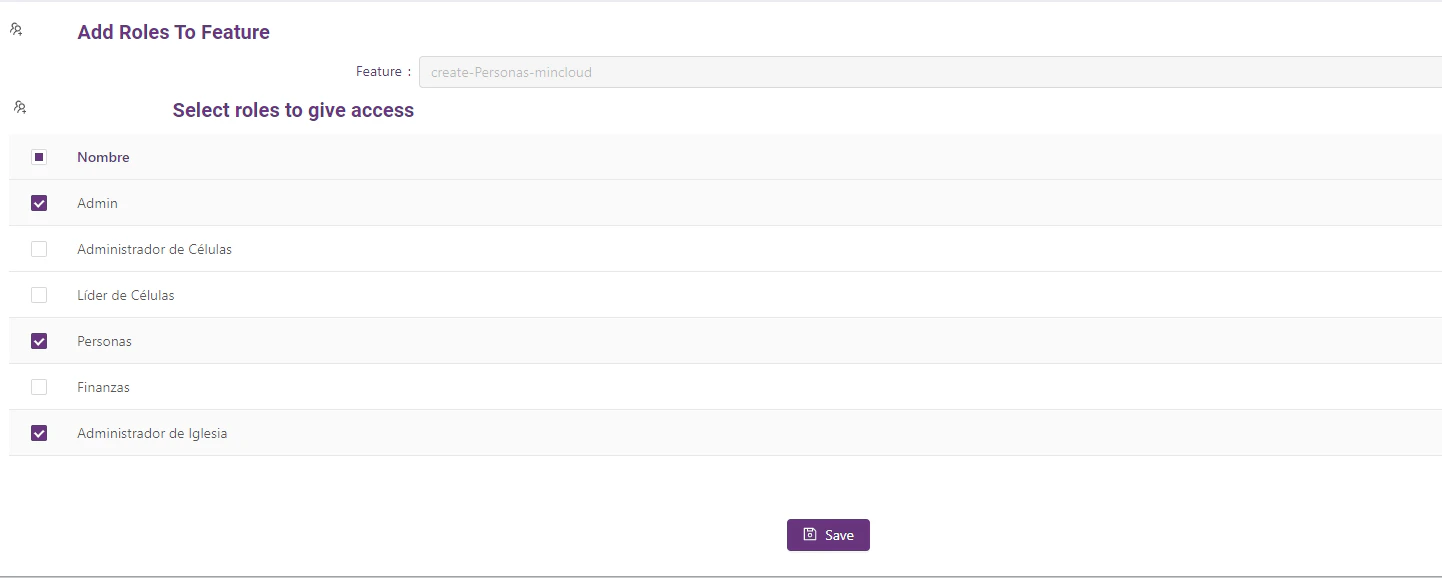
- You will see the current feature and the roles available in the application
- On this page, you need to select the roles you want to give access to the feature and then click on the Save button.
Authorization By Role
Features Level
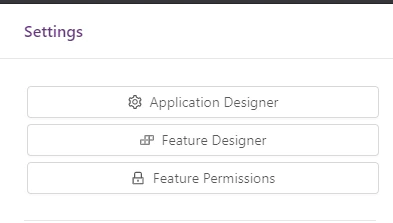
- In the application open the right menu and click on Application designer.
- Scroll down until the Roles table and click on the role you want to give access to the features.
- You will see all the features available for the application and then you choose the feature you will give access to the selected Role, then click on the Save button.
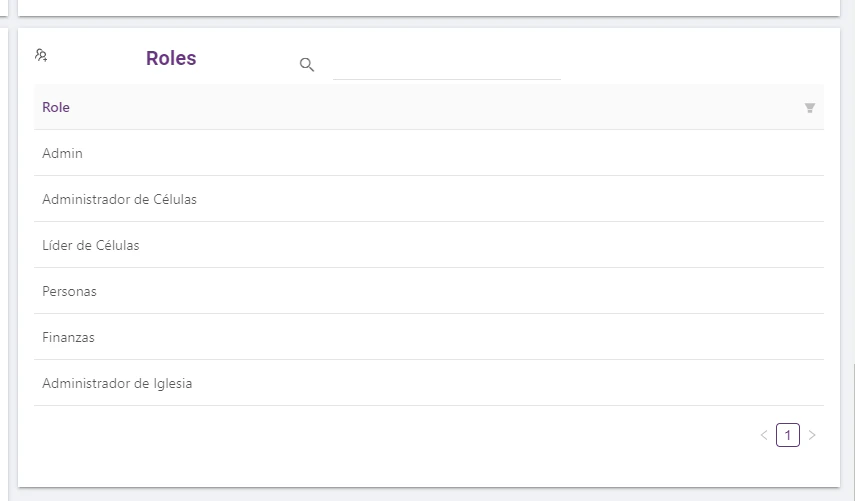
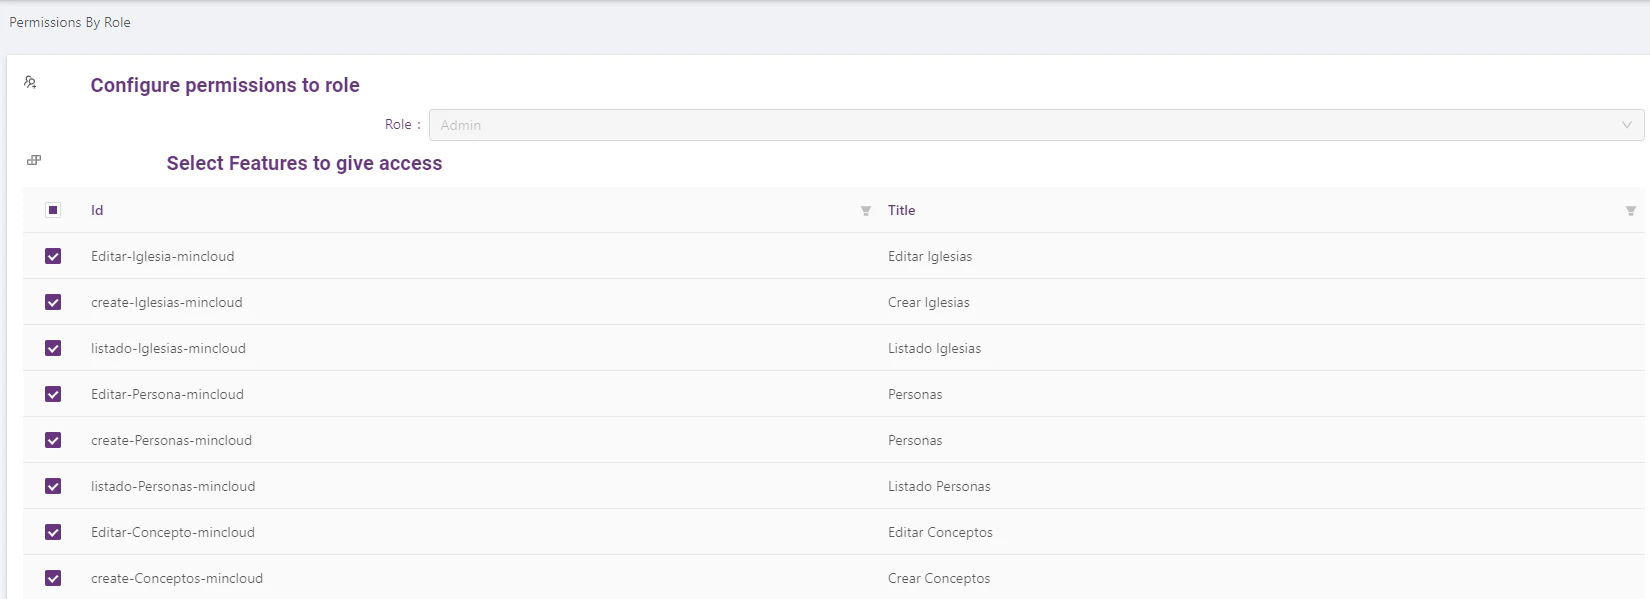
Here you can also provide Designer access, be careful to only give access to the right users or roles. To identify a Designer feature, they will have a Designer prefix.
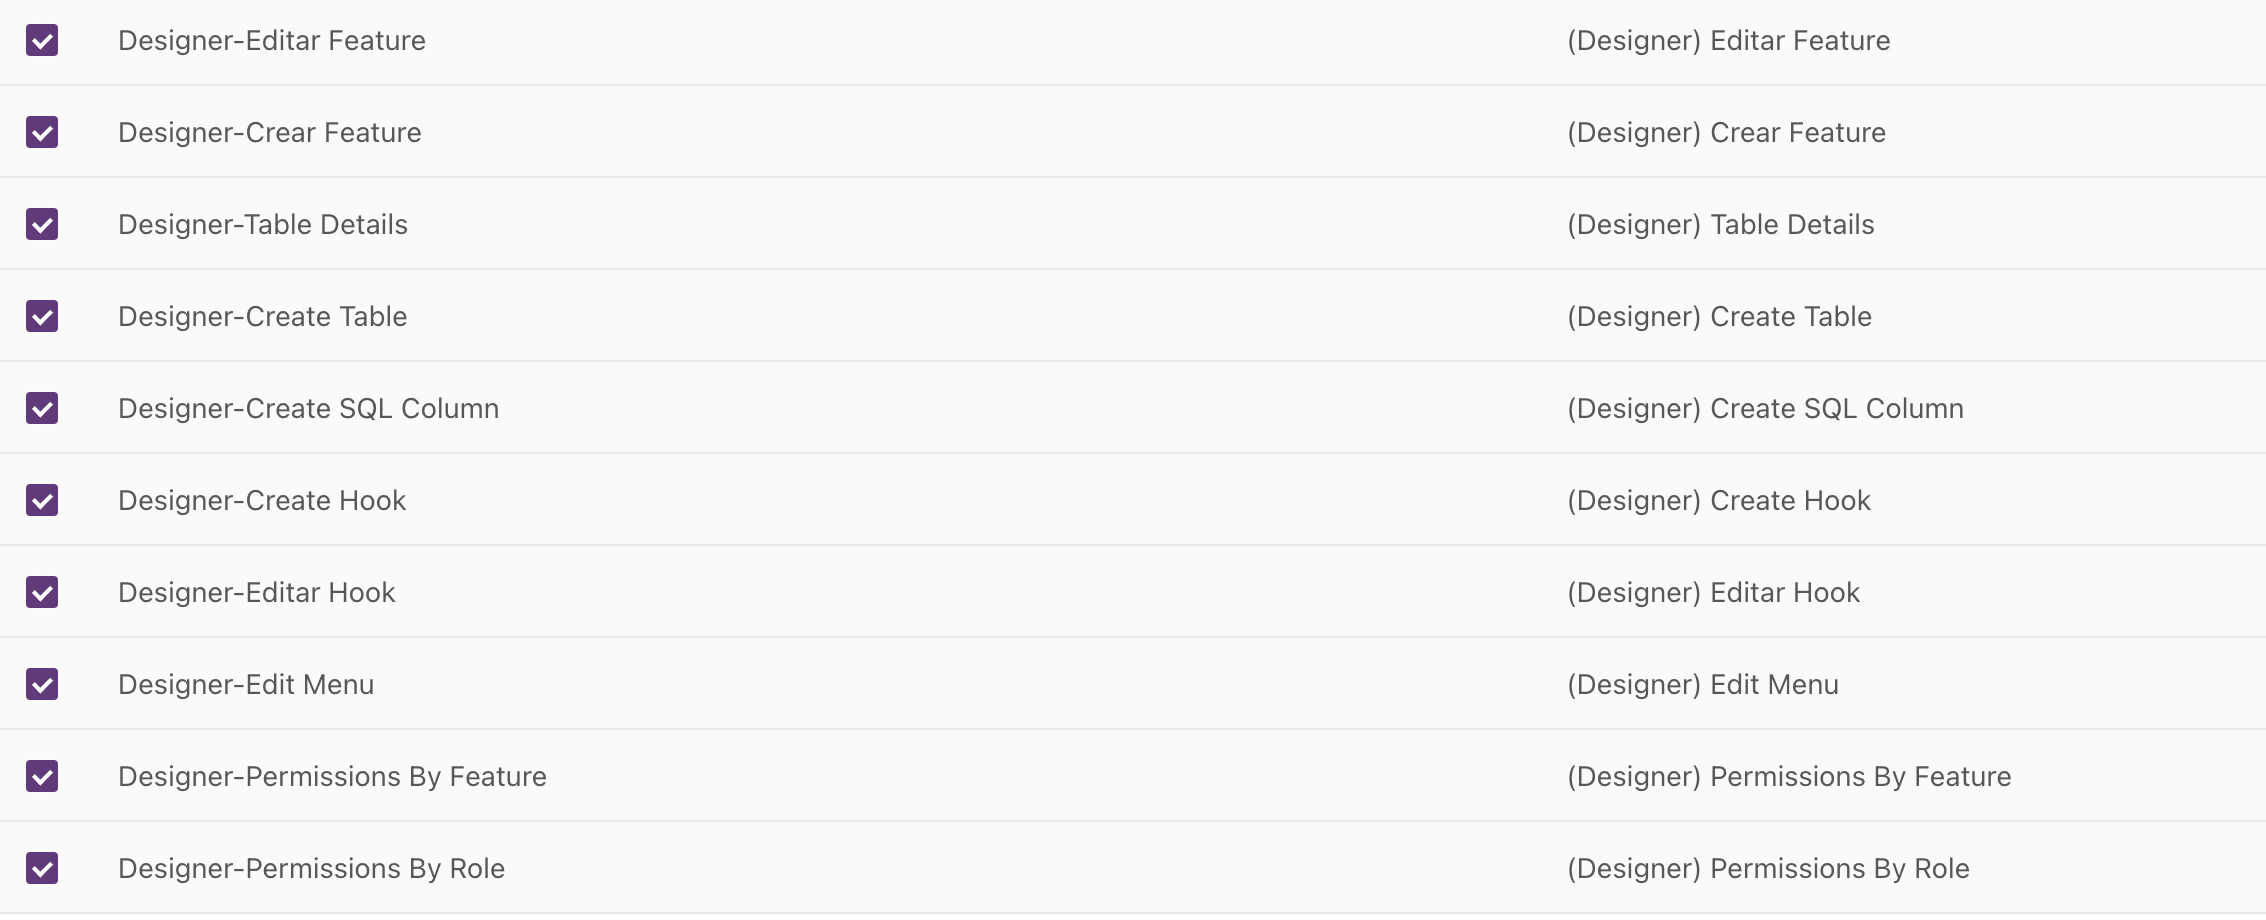
After you generate a CRUD for an entity, you must give permissions to have access to the new created features.
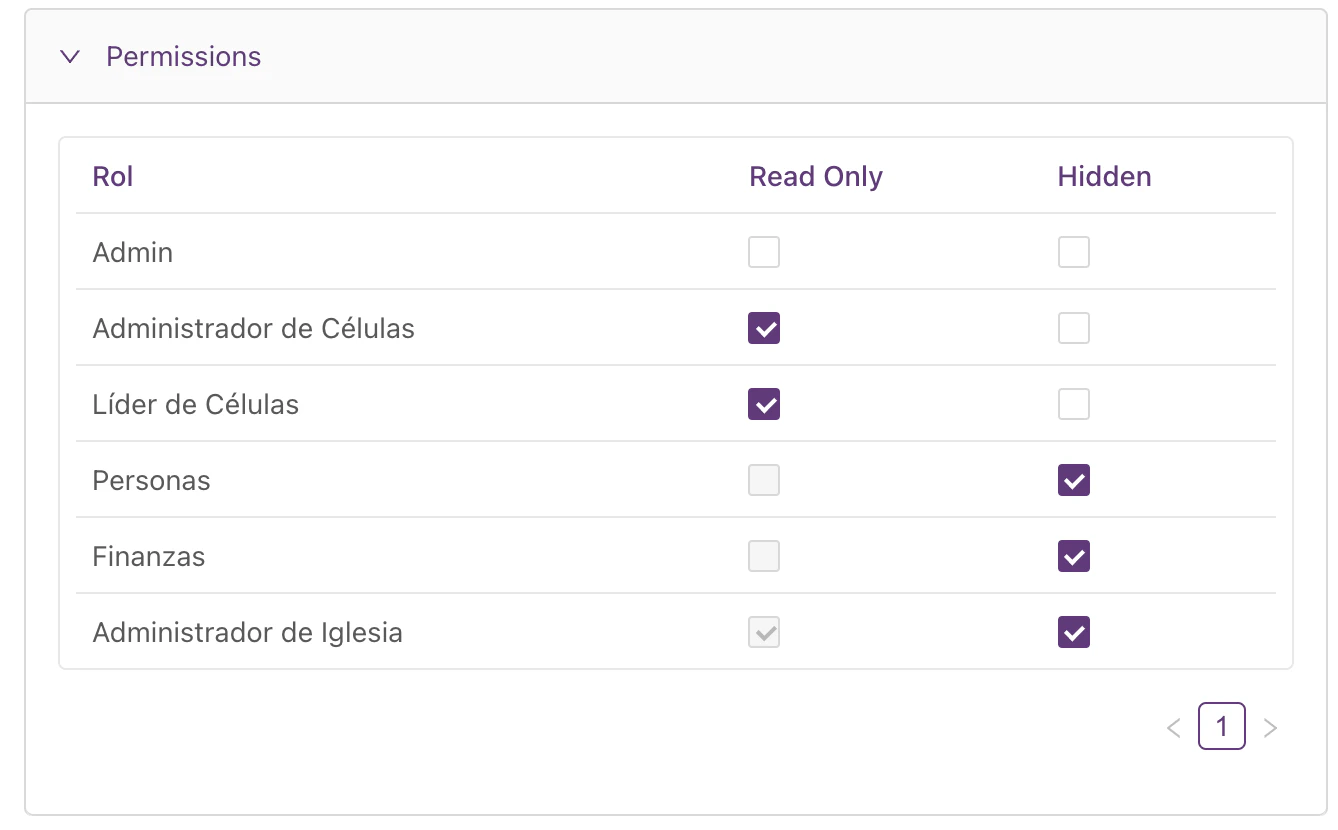
Components Level
You can restrict access even at a component level for each component. You can restrict the access to avoid modifications or even to hide any component for any role. For custom features (React code), controls are wrapped with theAuthorization component and configured per role directly from the feature’s edit view. See Component Permissions for the full configuration reference.